Have you ever wanted to do a bigger acoustic panel to upgrade sound quality? Or, you are drafting a design plan that comes with a number of panels in different sizes for your room? If yes, you are at the right place by reading this.
What are Main Materials of Our Large Acoustic Panel?
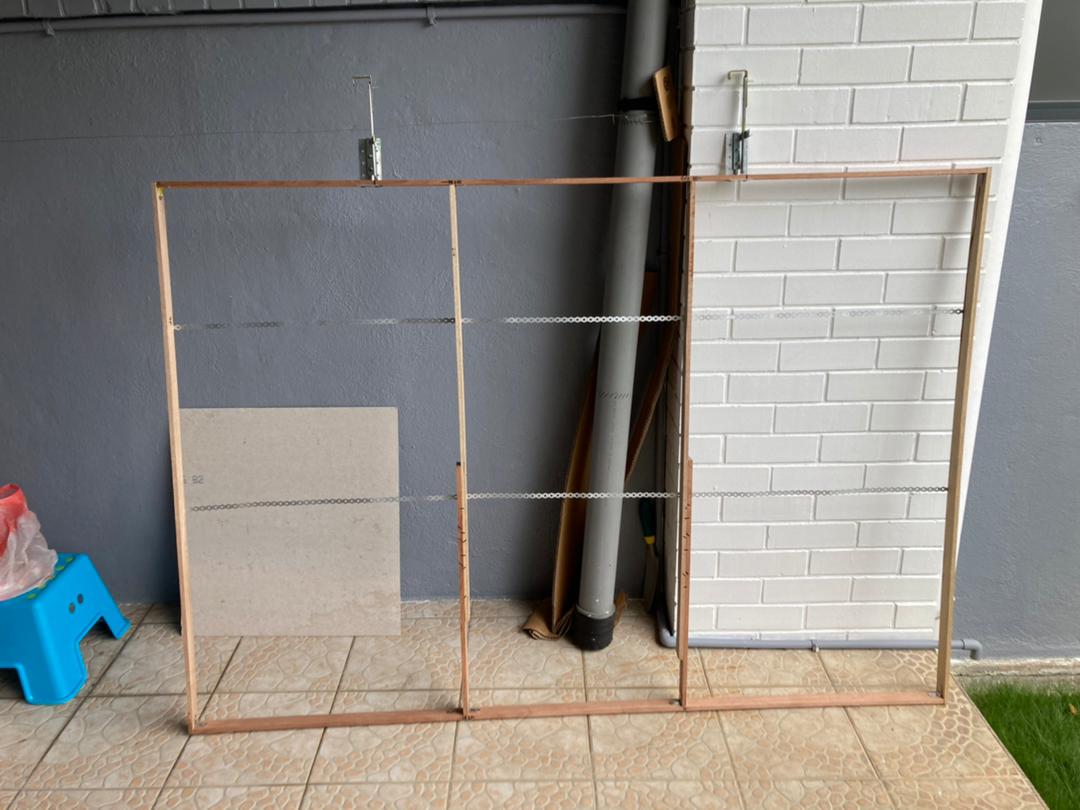
Before laying out the benefits of our own-brand large acoustic panel, you need to know about the core acoustic materials first. The main acoustic material is acoustic foam and fabric, Rockwool is an alternative choice. There are two types, one is with plastic plywood, one is without plastic plywood at the back of foam material.
Top 5 Benefits by Using Large Acoustic Panel
1. Cheaper, Cost-Effective
The price of panel itself may sound still a bit steep to some people but it is cheaper for the cost per square feet. With exclusively large size, it would help you reduce installation time. This indirectly saves your cost or could stay within budget.
2. Higher Sound Absorption
We have many kinds of acoustic sponges which in different grades, range from grade AA to grade C. But for acoustic wall panel, we only use premium grade as refill material. You would be well-advised to install our panel with premium foam as it has been receiving great feedback from our customers in the past many years. It could break sound waves and absorb more sound effectively. Each panel has excellent sound absorption properties as it has minimum height of 6 feets.
3. Great Acoustic Performance
Basically, refill materials such as Rockwool and acoustic foam are already widely known as acoustic treatments. But in this article, I will only specify one of our bestsellers – egg crate acoustic foam. It offers great acoustic because the pitch of foam can break sound waves easily which was just mentioned. The valley of foam can trap noises, which in turn the foam has a better ability to reduce reflection. This is why we use egg carton acoustic foam as refill acoustic material. Most importantly, the bigger of panel you have, the better acoustic you could enjoy.
4. Choose Your Own Fabric Color
While we are always committed to improving sound quality, we also make sure the choice of fabric is not affecting aesthetic appearance. We have more than 40 color options, you can choose any color that matches your design. Incidentally, our fabric is also good for acoustic.
5. Save Installation Time
Due to our panel is bigger, it could shorten installation time. It means you would not need to install as many panels as supposed to. If you have limited manpower or you are an individual, our large acoustic panel might suit your needs.
Why LovelyTeik The Foam Shop?
We are certainly not the first one to invent acoustic panel but we are proud to say that we are The First Foam Shop in Malaysia that produce these large acoustic panels. We are also the pioneer of acoustic foam panel. Therefore, it is our exclusive product. Furthermore, we have experience in foam-related industry for nearly 20 years, more than 4 years in sound acoustic market.
We Consult. We Supply & Install. We Sell. Whether you are a homeowner or contractor, we can provide you with any solution you need. And, no minimum order is required. We can custom-make for you even order 1 unit only.
Final Say
Before wrapping up, I would like to say that there are no products that will be one-size-fits-all. So, maybe our large acoustic panel is not the best choice for you. Sound quality could be very personal, it is up to what result you expect. Different materials, different expectations and different prices. For an enhanced acoustical experience, there are plenty of choices you can go for. Like, so-called soundproofing door seal to window tape, acoustic curtain to acoustic mat, acoustic carpet to acoustic ceiling, acoustic partition to soundproof blanket, acoustic fluted panel or even decorative acoustic panel which come with whole set.
You May Interest In Product
-
 Large Acoustic PanelRM280.00 – RM380.00
 -
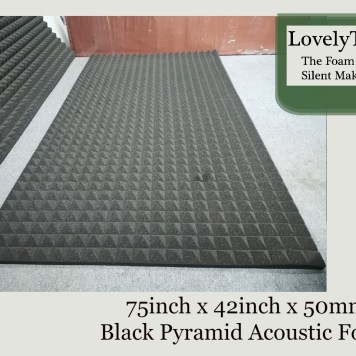
Product on salePyramid Acoustic FoamOriginal price was: RM160.00.RM130.00Current price is: RM130.00.
-
Product on saleFabric Acoustic PanelRM99.00 – RM380.00
-
The Foam Shop Acoustic Foam DividerRM580.00 – RM700.00
-
Product on saleThe Foam Shop Egg Crate Acoustic Foam (Grade A)RM65.00 – RM320.00


Our Products

Our Projects
- Best & Clean Memory Foam From The Foam Shop MalaysiaMemory foam is a kind of polyurethane foam known as viscoelastic. Though… Read more: Best & Clean Memory Foam From The Foam Shop Malaysia
- Acoustic Decoration Ideas to Make TikTok Audio ClearA great recording quality while you are doing TikTok podcast is an… Read more: Acoustic Decoration Ideas to Make TikTok Audio Clear
- Top 5 Benefits of Large Acoustic Panel by The Foam ShopHave you ever wanted to do a bigger acoustic panel to upgrade… Read more: Top 5 Benefits of Large Acoustic Panel by The Foam Shop
- How to DIY Soundproof Panel That Helps to Block Noises From Window?Make a Flexible Soundproof Panel At A Cheap Price Using Rockwool. One… Read more: How to DIY Soundproof Panel That Helps to Block Noises From Window?